
Honey Butter Chicken: Crispy, Sticky & Easy Recipe at Home
Honey Butter Chicken delivers juicy meat with a crackling honey butter crust. Nothing ruins dinner like dry chicken with burnt sugary glaze. I’ve ruined this dish twice—once with scorched honey, once with pale skin. The moment that butter hits the hot pan, it smells like a state fair. If you love my Creamy Southern Smothered Chicken, you’ll appreciate this sticky twist. Jump to the recipe card or keep reading for my best tips. You might also love my Creamy Southern Smothered Chicken.
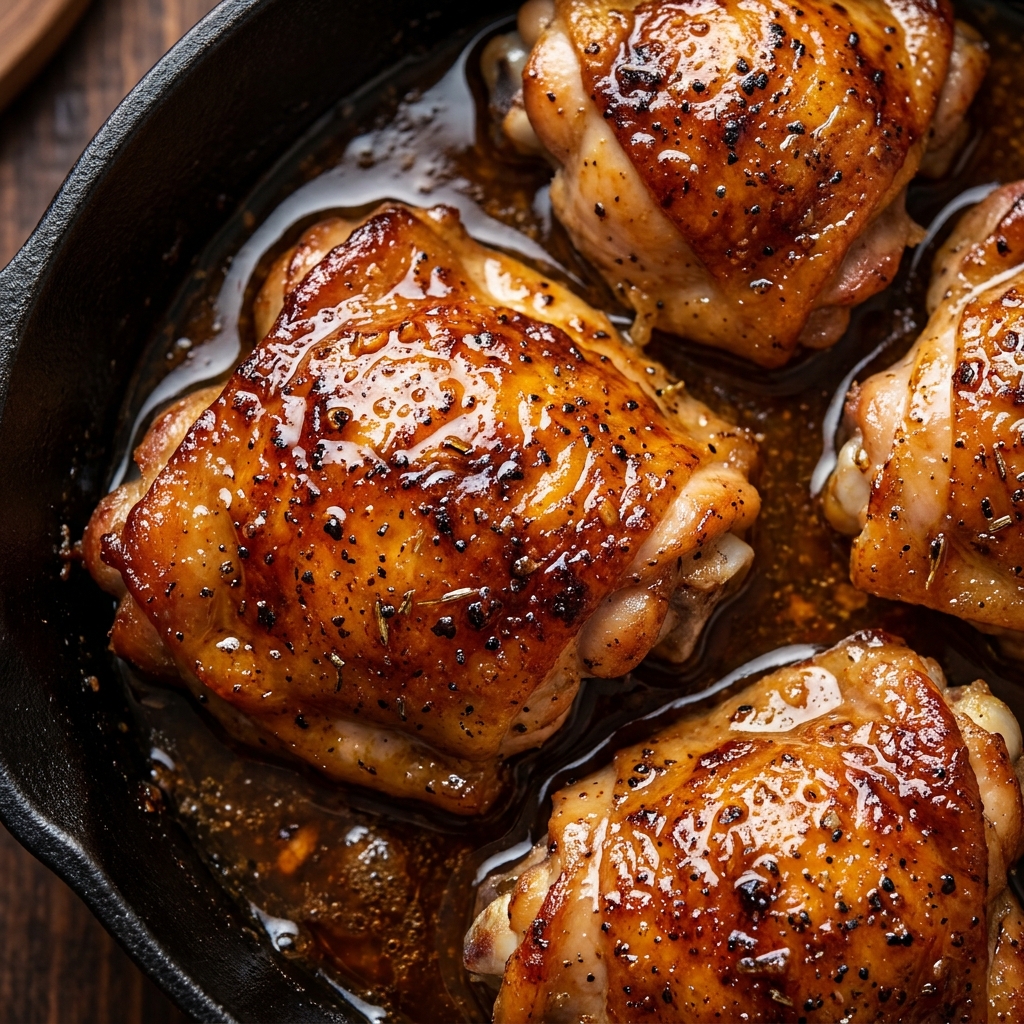
Why You'll Love This Honey Butter Chicken: Crispy, Sticky & Easy Recipe at Home
- Crackly honey butter coating that shatters when you bite
- Juicy chicken thighs that stay moist even if you overcook slightly
- One-pan meal ready in under 30 minutes
- Sweet and savory balance that beats takeout every time
Ingredients for Honey Butter Chicken: Crispy, Sticky & Easy Recipe at Home
Exact amounts are in the printable recipe card below — here's what you'll need at a glance.
Main Ingredients
- 6 bone-in, skin-on chicken thighs (about 2 lbs)
- 2 tablespoons unsalted butter
- 1/4 cup honey
- 1 tablespoon soy sauce
- 1 tablespoon apple cider vinegar
- 1 teaspoon garlic powder
- Salt and black pepper to taste
Seasonings & Flavors
- 1 teaspoon garlic powder
- 1/2 teaspoon salt
- 1/2 teaspoon black pepper
Optional Toppings
- (Optional) Chopped fresh parsley
- (Optional) Thinly sliced scallions
- (Optional) Sesame seeds
Ingredient Notes
- Chicken thighs: Bone-in, skin-on thighs stay juicy better than breasts. The skin crisps up into a crackly shell. Substitute boneless thighs, but reduce cooking time by 5 minutes.
- Unsalted butter: Controls saltiness. If using salted butter, cut added salt by half.
- Honey: Any runny honey works. Avoid creamed honey — it clumps and burns unevenly.
- Soy sauce: Adds deep umami backbone. Use tamari for gluten-free.
- Apple cider vinegar: Cuts the sweetness so the glaze doesn't taste flat. Rice vinegar works too.
- Garlic powder: Dissolves into the butter evenly. Fresh garlic burns and tastes bitter here.
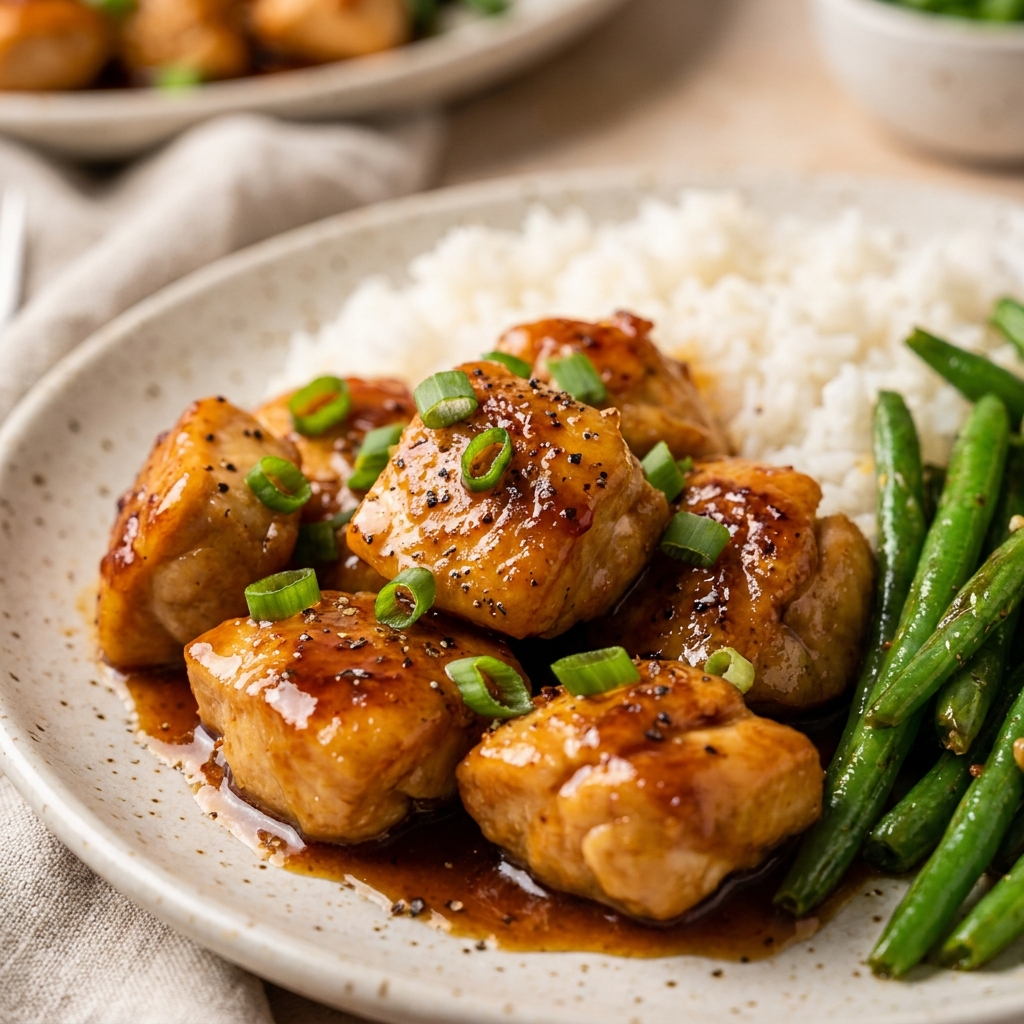
How to Make Honey Butter Chicken: Crispy, Sticky & Easy Recipe at Home Step by Step
Prep the chicken
Pat chicken thighs dry with paper towels. Damp skin won't crisp. Season both sides generously with salt, pepper, and garlic powder.
Sear skin-side down
Heat 1 tablespoon oil in a heavy oven-safe skillet over medium-high heat. Place thighs skin-side down. Don't move them for 5–7 minutes. You'll hear a steady sizzle. The skin should turn deep golden and release easily.
Flip and brown briefly
Flip thighs and cook 2–3 minutes on the flesh side. It won't color as deeply. Transfer chicken to a plate.
Make the honey butter glaze
Reduce heat to medium-low. Melt butter in the skillet. Scrape up any browned bits. Stir in honey, soy sauce, and apple cider vinegar. Let it bubble gently for 1 minute. It should smell nutty and sweet.
Glaze and finish in oven
Return chicken to the skillet, skin-side up. Spoon glaze over the top. Transfer skillet to a 400°F oven. Bake 10–12 minutes until chicken registers 165°F. The glaze will thicken and look glossy. Watch carefully — honey burns fast above 400°F.
Rest and serve
Let chicken rest in the pan for 5 minutes. This keeps the juices locked in. Spoon extra glaze over the top. Scatter with parsley or scallions if using.
Pro Tips for the Best Honey Butter Chicken: Crispy, Sticky & Easy Recipe at Home
- Ingredient prep: Pat the chicken completely dry before seasoning. Even a little moisture steams the skin instead of frying it crisp.
- Common mistake and fix: The honey butter glaze burns easily. Keep oven temperature at 400°F or lower, and never walk away while broiling. If the glaze starts smoking, pull the pan out immediately and add a splash of water to cool it down.
- Equipment choice: Use a heavy cast-iron skillet. It holds heat evenly and goes straight from stovetop to oven without warping.
- Texture enhancement: For extra crackly skin, spoon the bubbling glaze over the chicken twice during the oven bake. This builds up a thick, sticky shell.
Storing and Reheating Honey Butter Chicken: Crispy, Sticky & Easy Recipe at Home
Refrigerator Storage
Store leftovers in an airtight container for up to 3 days. The skin softens but reheating restores crispness.
Freezing Honey Butter Chicken: Crispy, Sticky & Easy Recipe at Home
Wrap each thigh tightly in foil, then place in a zip-top bag. Freeze up to 2 months. Thaw overnight in the fridge.
Reheating in the Oven
Reheat at 350°F for 10–12 minutes. Brush with a little melted butter to revive the skin's crunch.
Reheating in the Microwave
Microwave at 50% power in 30-second bursts. Place a damp paper towel over the chicken to add moisture, but the skin won't crisp.
Make Ahead
Season the chicken up to 8 hours ahead and refrigerate uncovered. The skin dries out slightly, which helps it crisp faster. Make the glaze fresh while the chicken sears.
Honey Butter Chicken: Crispy, Sticky & Easy Recipe at Home
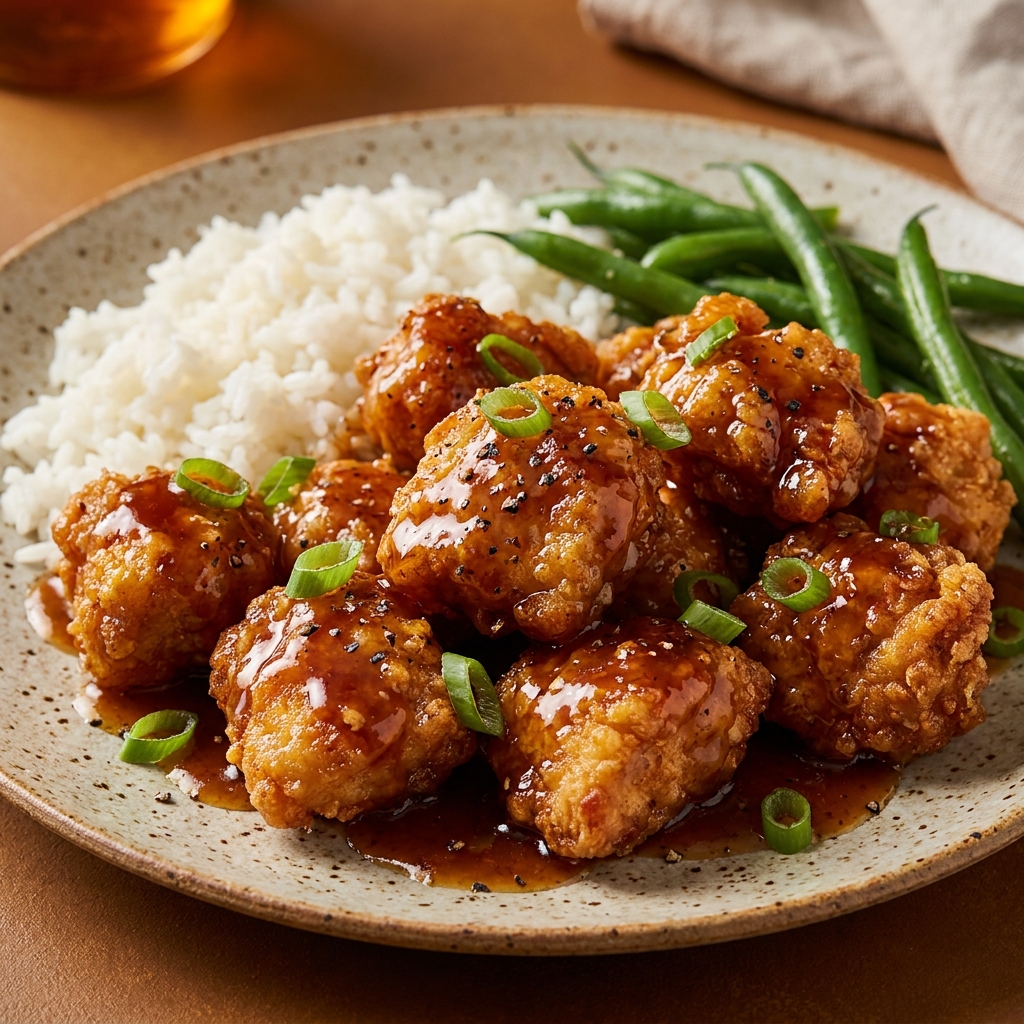
Ingredients
Main Ingredients
- 6 bone-in, skin-on chicken thighs (about 2 lbs)
- 2 tablespoons unsalted butter
- 1/4 cup honey
- 1 tablespoon soy sauce
- 1 tablespoon apple cider vinegar
- 1 teaspoon garlic powder
- Salt and black pepper to taste
Seasonings & Flavors
- 1 teaspoon garlic powder
- 1/2 teaspoon salt
- 1/2 teaspoon black pepper
Optional
- Chopped fresh parsley
- Thinly sliced scallions
- Sesame seeds
Instructions
- 1Prep the chicken: Pat chicken thighs dry with paper towels. Damp skin won't crisp. Season both sides generously with salt, pepper, and garlic powder.
- 2Sear skin-side down: Heat 1 tablespoon oil in a heavy oven-safe skillet over medium-high heat. Place thighs skin-side down. Don't move them for 5–7 minutes. You'll hear a steady sizzle. The skin should turn deep golden and release easily.
- 3Flip and brown briefly: Flip thighs and cook 2–3 minutes on the flesh side. It won't color as deeply. Transfer chicken to a plate.
- 4Make the honey butter glaze: Reduce heat to medium-low. Melt butter in the skillet. Scrape up any browned bits. Stir in honey, soy sauce, and apple cider vinegar. Let it bubble gently for 1 minute. It should smell nutty and sweet.
- 5Glaze and finish in oven: Return chicken to the skillet, skin-side up. Spoon glaze over the top. Transfer skillet to a 400°F oven. Bake 10–12 minutes until chicken registers 165°F. The glaze will thicken and look glossy. Watch carefully — honey burns fast above 400°F.
- 6Rest and serve: Let chicken rest in the pan for 5 minutes. This keeps the juices locked in. Spoon extra glaze over the top. Scatter with parsley or scallions if using.
Recipe Notes
- Chef tip: For the crispiest skin, sear the chicken thighs straight from the fridge. Cold fat hitting hot oil contracts fast and crackles.
- Best substitution: Swap chicken thighs for drumsticks. They take 5 extra minutes to cook but hold the glaze just as well.
- Make-ahead: You can sear the chicken a day ahead, then reheat in the glaze when ready. The skin loses some crispness but the flavor deepens.
- Scaling: Double the recipe with no changes. Use two skillets or a large rimmed baking sheet, and increase oven time by 3–5 minutes.
- Troubleshooting: If the glaze burns, it's because the oven was too hot or the honey caramelized too long. Reduce oven temp to 375°F next time, and keep a close eye during the last 5 minutes. Scrape off any bitter burnt bits before serving.
Nutrition Per Serving
- Calories: 420 kcal
- Protein: 28g
- Fat: 28g
- Saturated Fat: 10g
- Carbohydrates: 16g
- Fiber: 0g
- Sugar: 14g
- Sodium: 480mg
- Cholesterol: 140mg
Nutritional values are estimates only. Actual values may vary by brand and portion size.
Made this recipe?
I’d love to see how your Honey Butter Chicken: Crispy, Sticky & Easy Recipe at Home turned out — leave a star rating and a comment below. I read every one!
Frequently Asked Questions about Honey Butter Chicken: Crispy, Sticky & Easy Recipe at Home
What is Honey Butter Chicken?
Honey butter chicken is a skillet dish where crispy seared chicken gets coated in a sticky sweet glaze made from honey, butter, and soy sauce. The skin turns crackly and the meat stays juicy. It's an American comfort food with a Korean fried chicken twist. Most recipes finish in the oven to lock in the glaze without scorching the sugar.
Why does my honey butter chicken glaze burn?
Honey burns at around 350°F, so high oven heat or overly long cooking creates a bitter, charred glaze. To prevent this, keep your oven at 400°F and watch the chicken after 8 minutes. If you smell burning, pull the pan immediately. You can salvage the dish by scraping off blackened spots and dusting with a little fresh honey.
Can I make this completely on the stovetop?
Yes, and this method works great in summer when you don't want to heat the oven. After searing and making the glaze, return the chicken to the skillet, reduce heat to low, and cover. Cook for 10–12 minutes, spooning glaze over the top every few minutes. The skin stays crisp if you uncover for the last minute.
How do I store and reheat leftovers?
Store leftover honey butter chicken in a sealed container in the fridge for up to 3 days. To reheat, use the oven at 350°F for 10 minutes to restore crispness. Avoid the microwave if possible — it makes the skin chewy. If microwaving, use 50% power and place a damp paper towel over the chicken.
Can I use boneless skinless chicken breasts?
You can, but they cook faster and dry out easier. Pound the breasts to an even thickness and reduce the oven time to 6–8 minutes. Skip the initial sear on the flesh side. The glaze won't cling as well without skin, but the flavor still works.